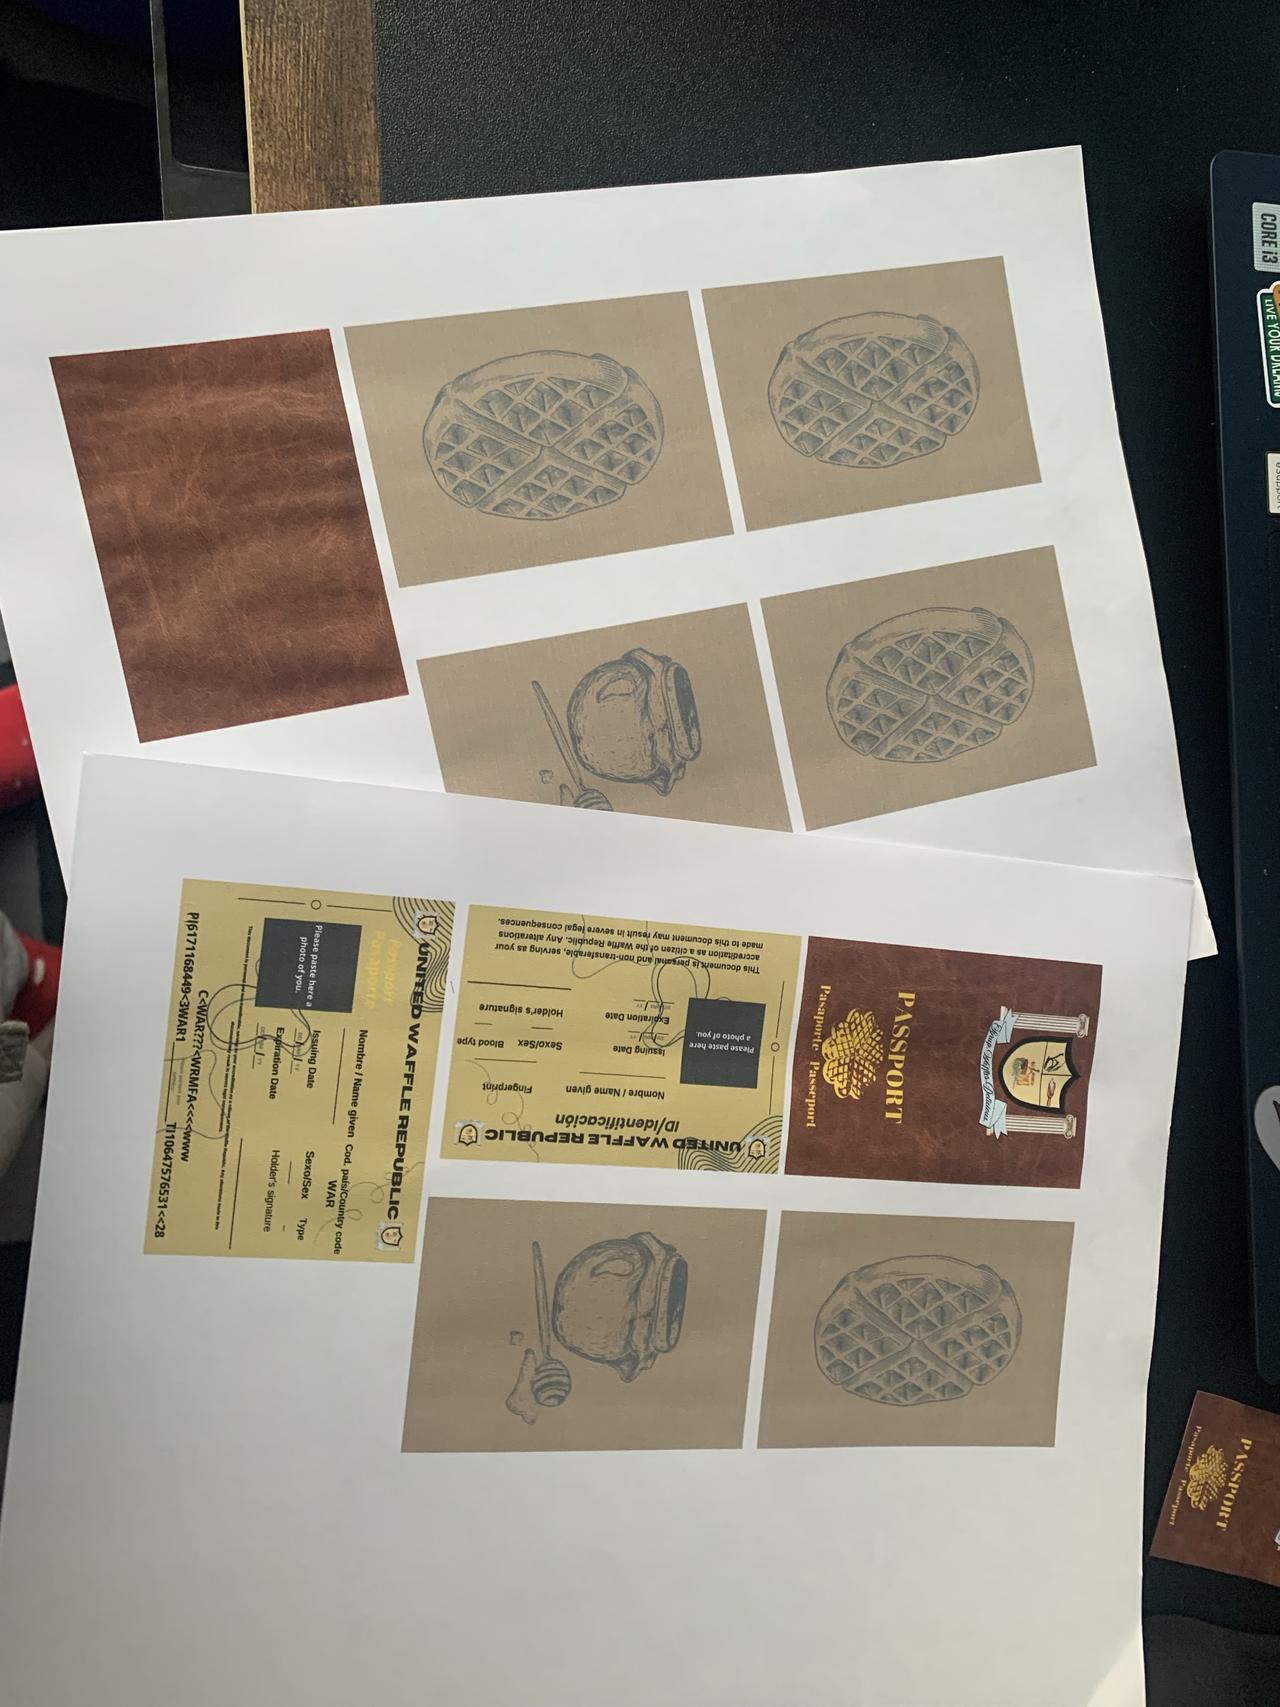
Above, there is a link that directs you to a Google Docs file. Click on it and print the two pages.
2. Cut each of the pages
Grab some scissors and cut out all the pages.
3. Glue the pages Take two pages and glue them back-to-back. This will create double-sided pages. Make sure the edges are aligned and press firmly for a clean finish.
This is the order you should follow:
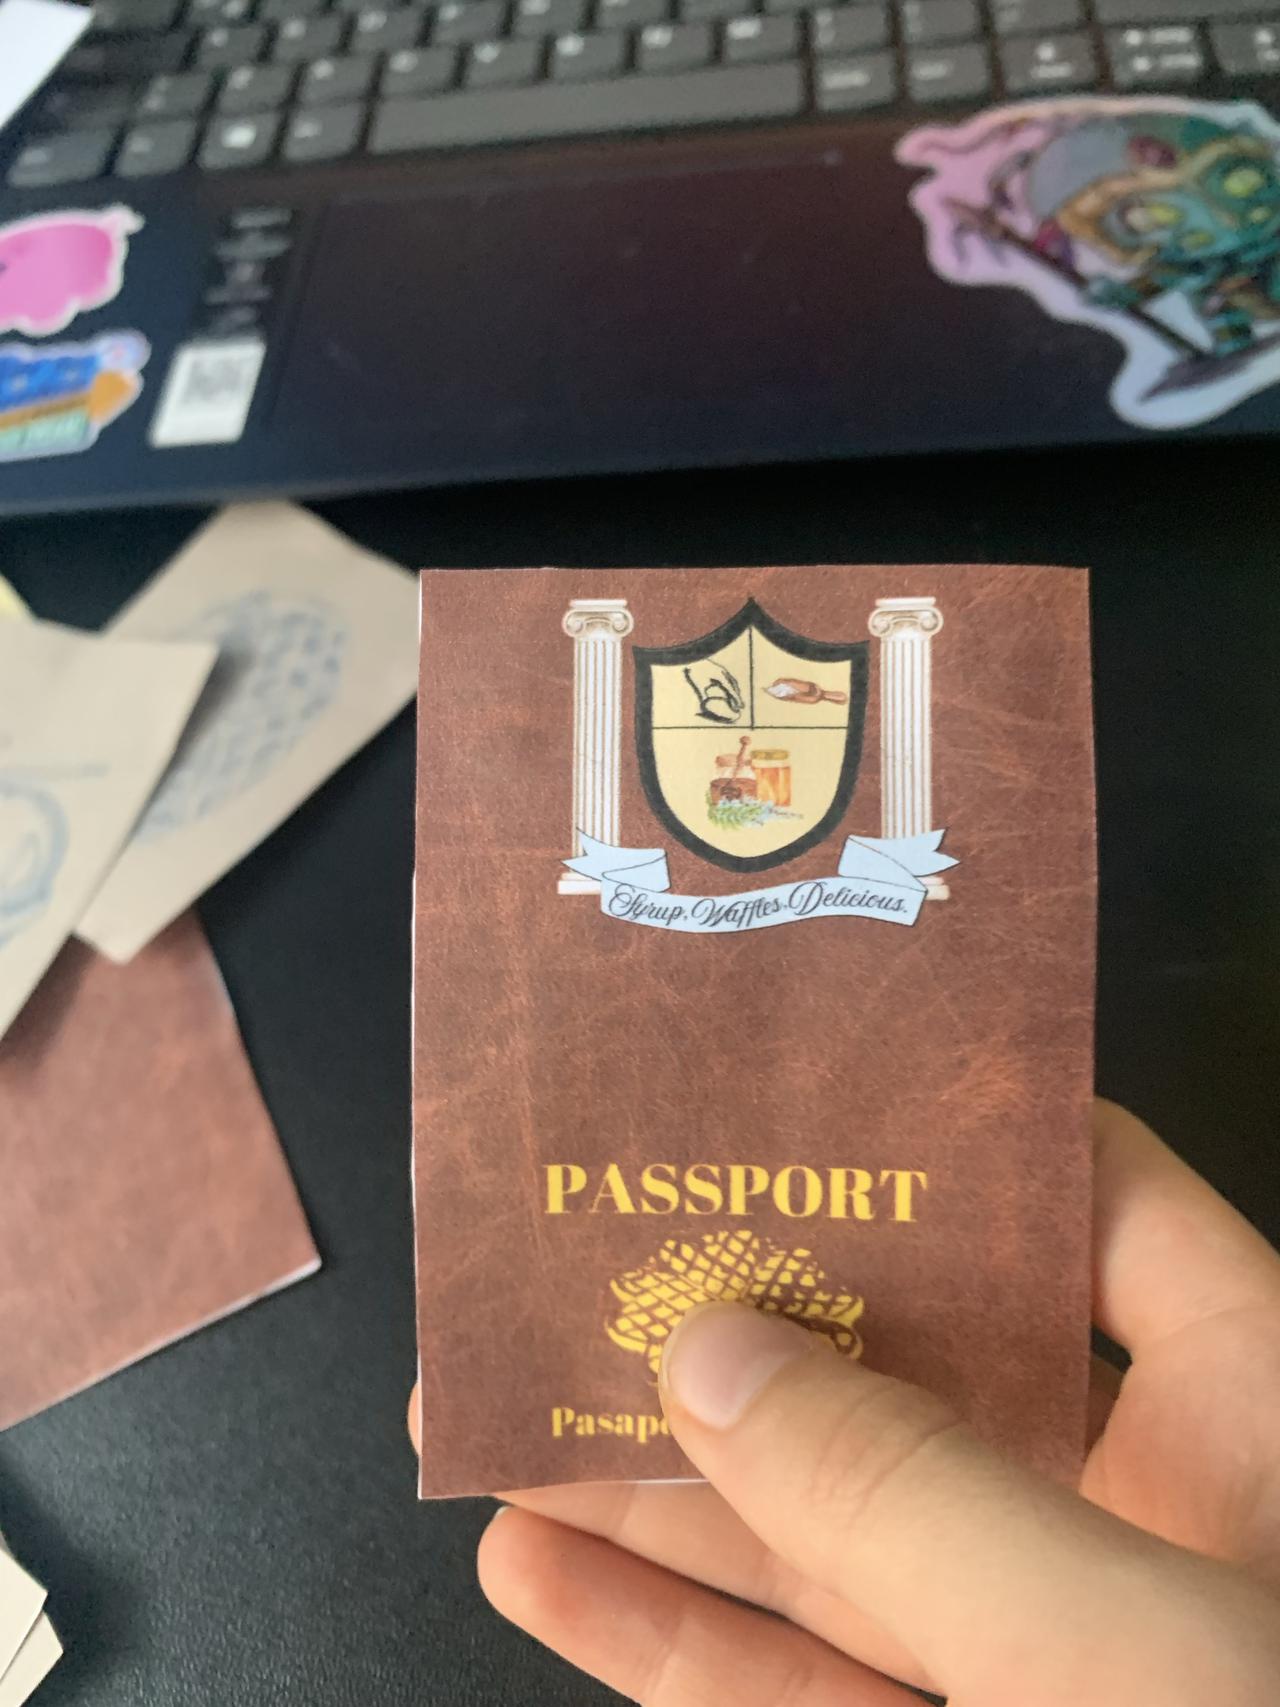
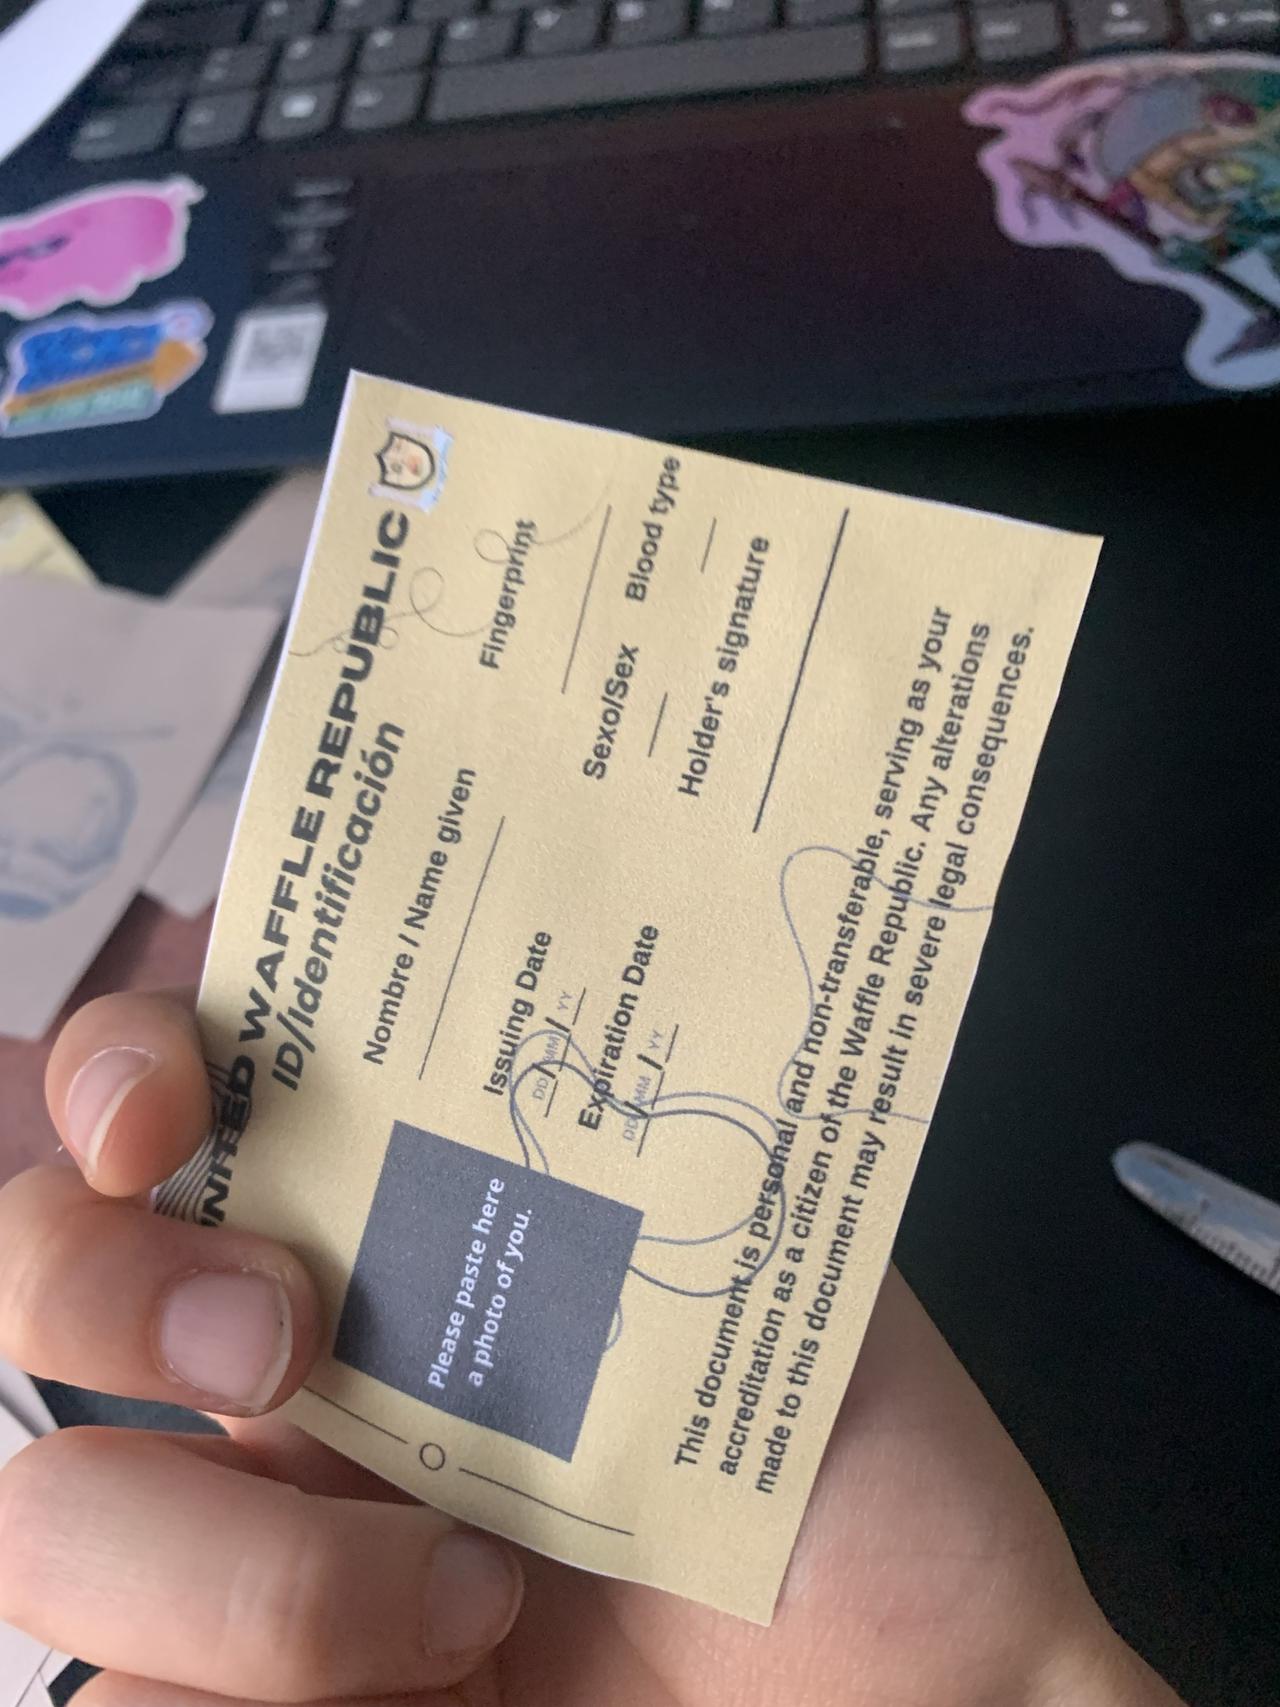
Page 1: Cover + ID
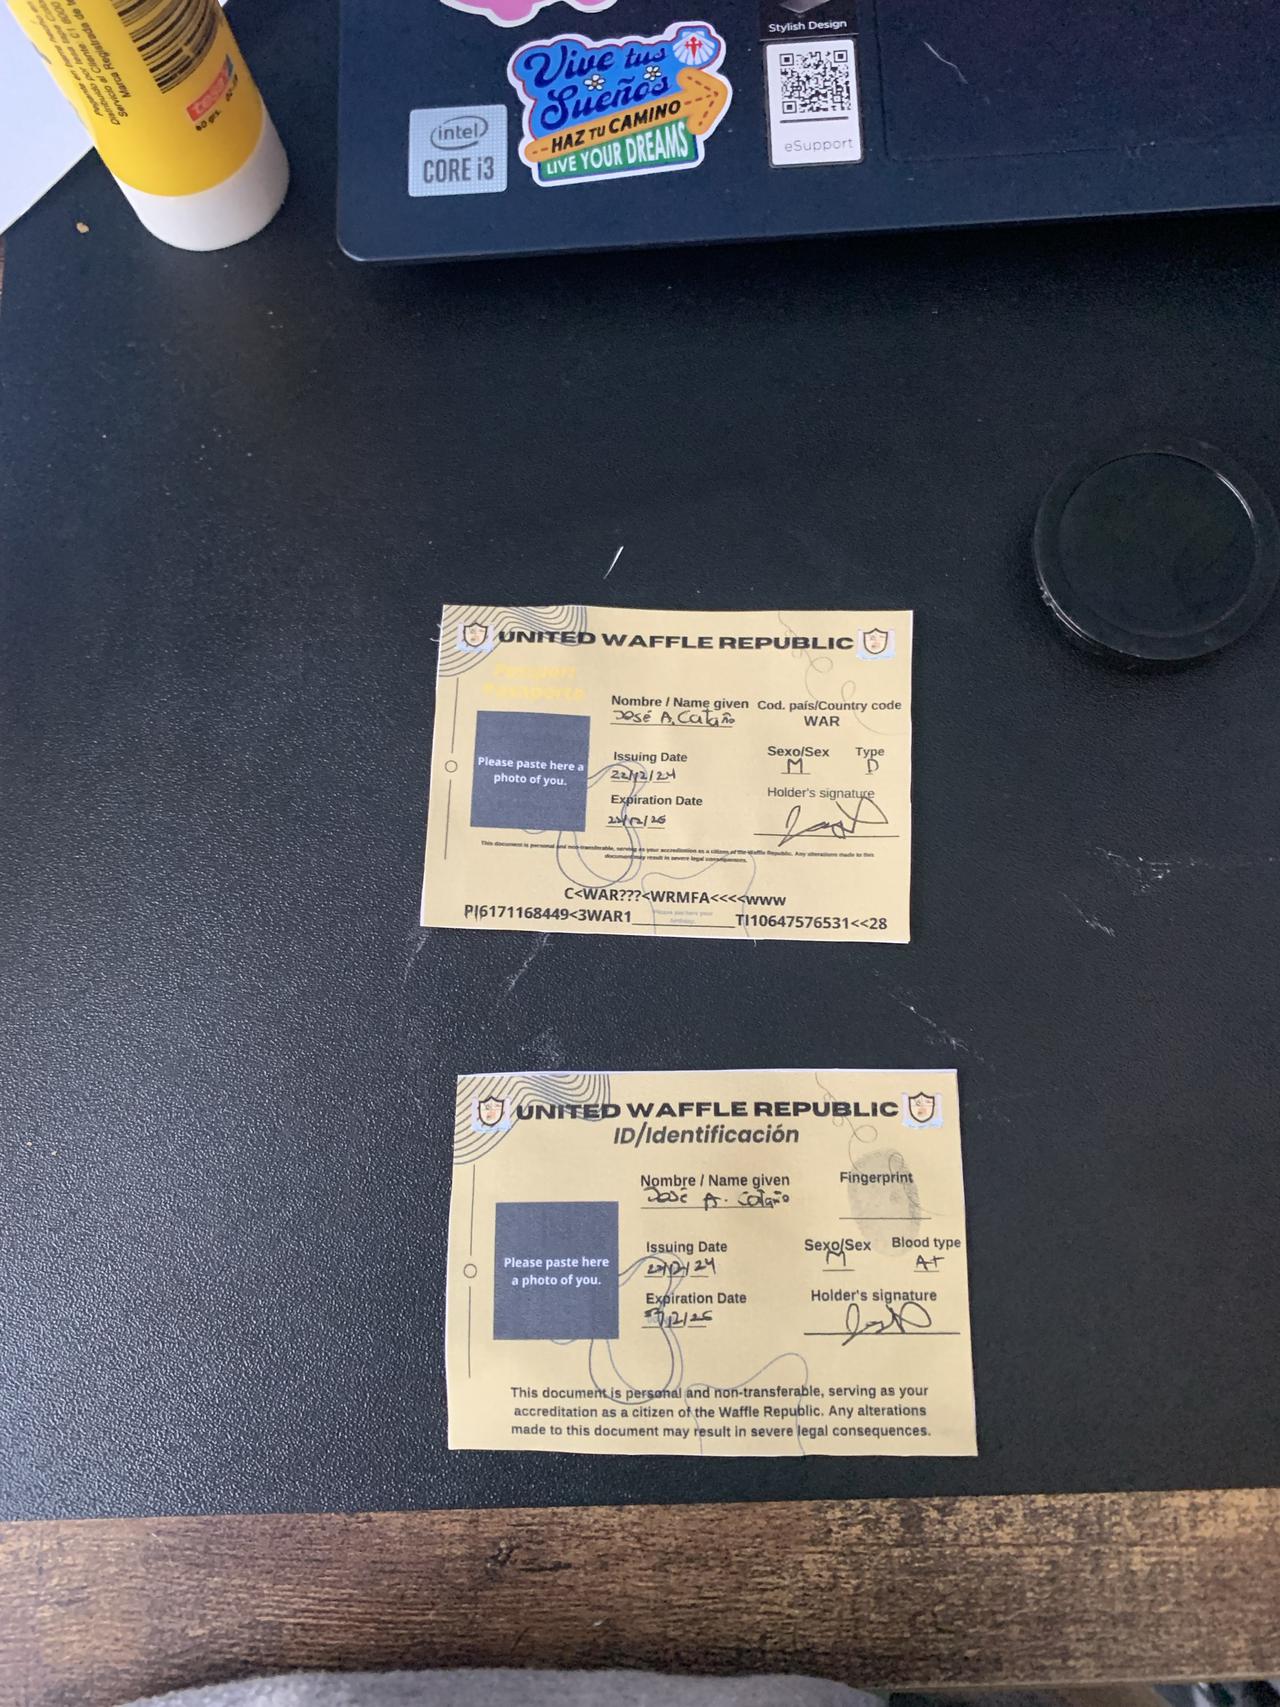
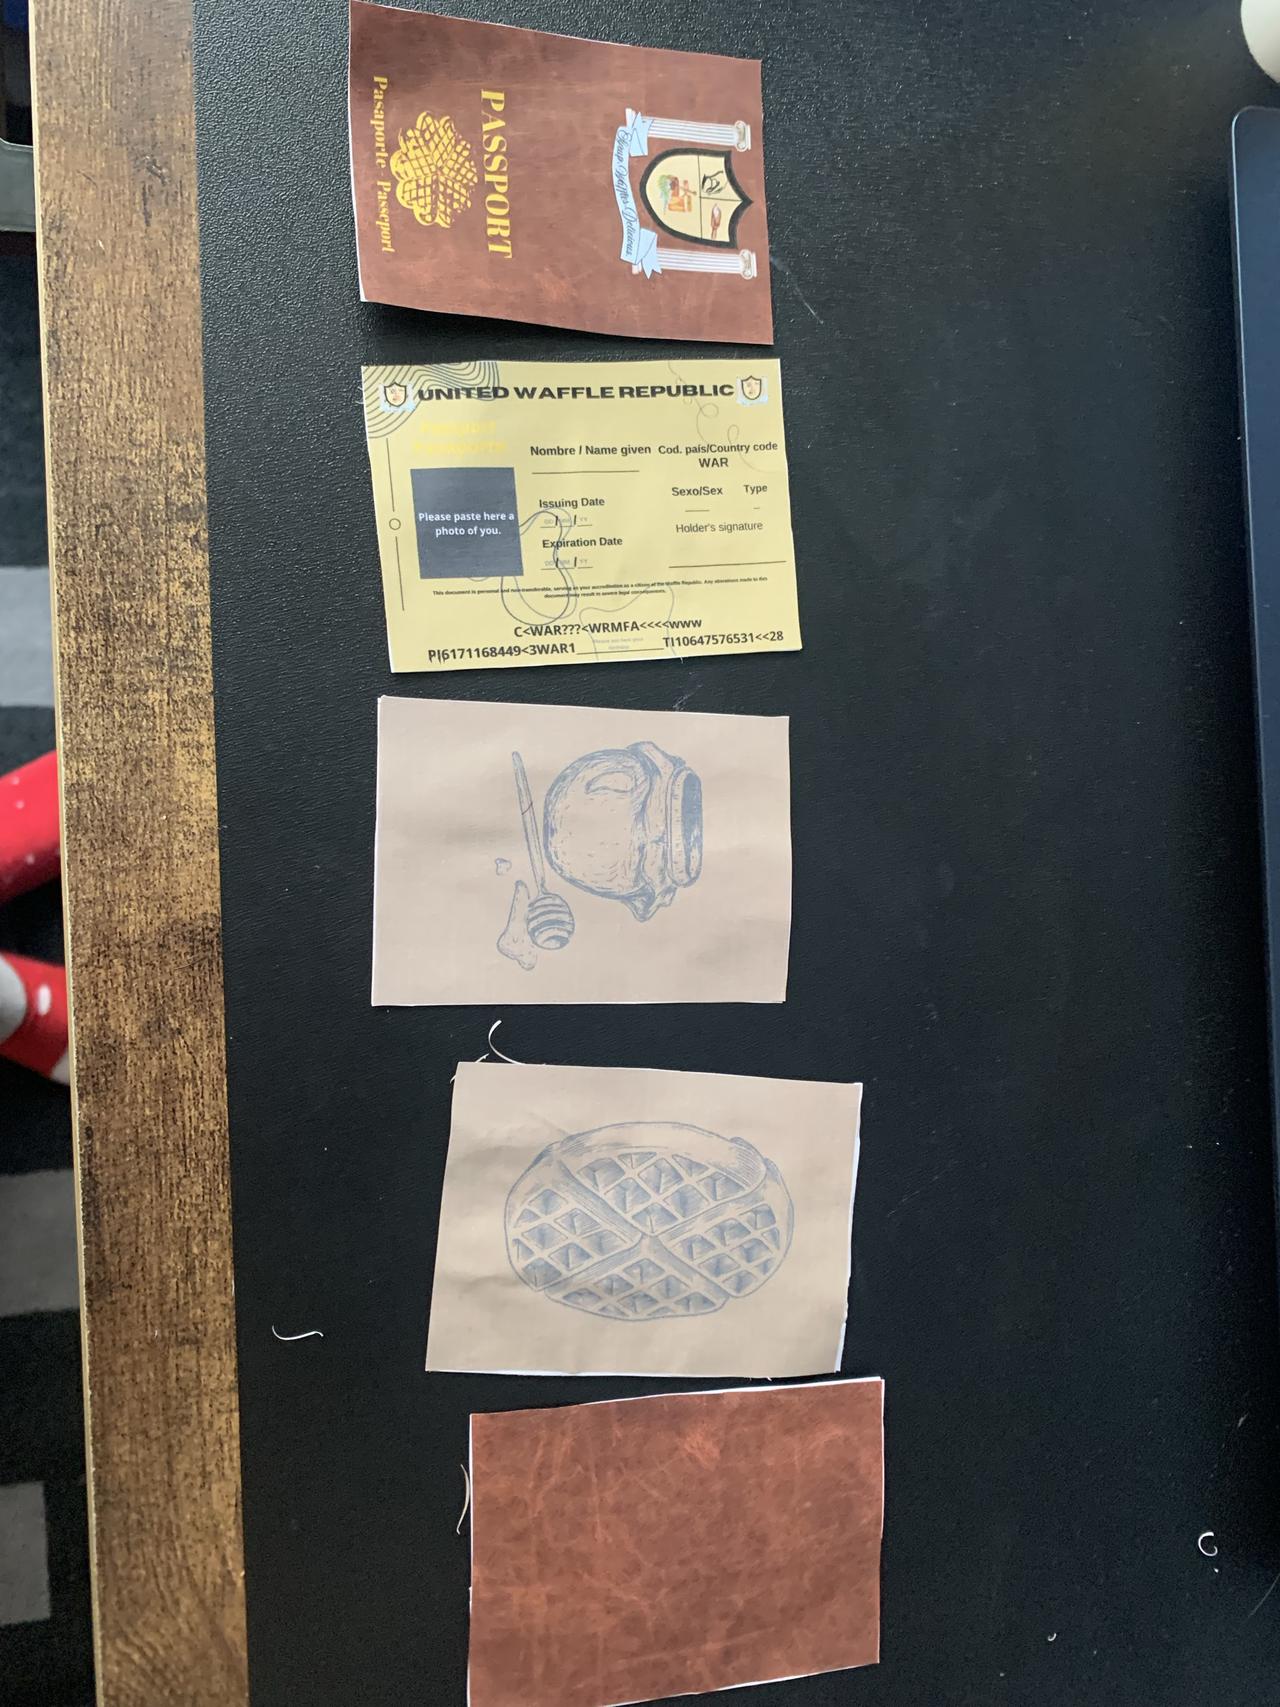
Page 2: Passport Card + Stamp Page (the one with a waffle or a jar of honey)
Page 3: Stamp Page + Stamp Page
Page 4: Stamp Page + Stamp Page
Page 5: Stamp Page + Back Cover (the one with the printed leather design)
For reference:
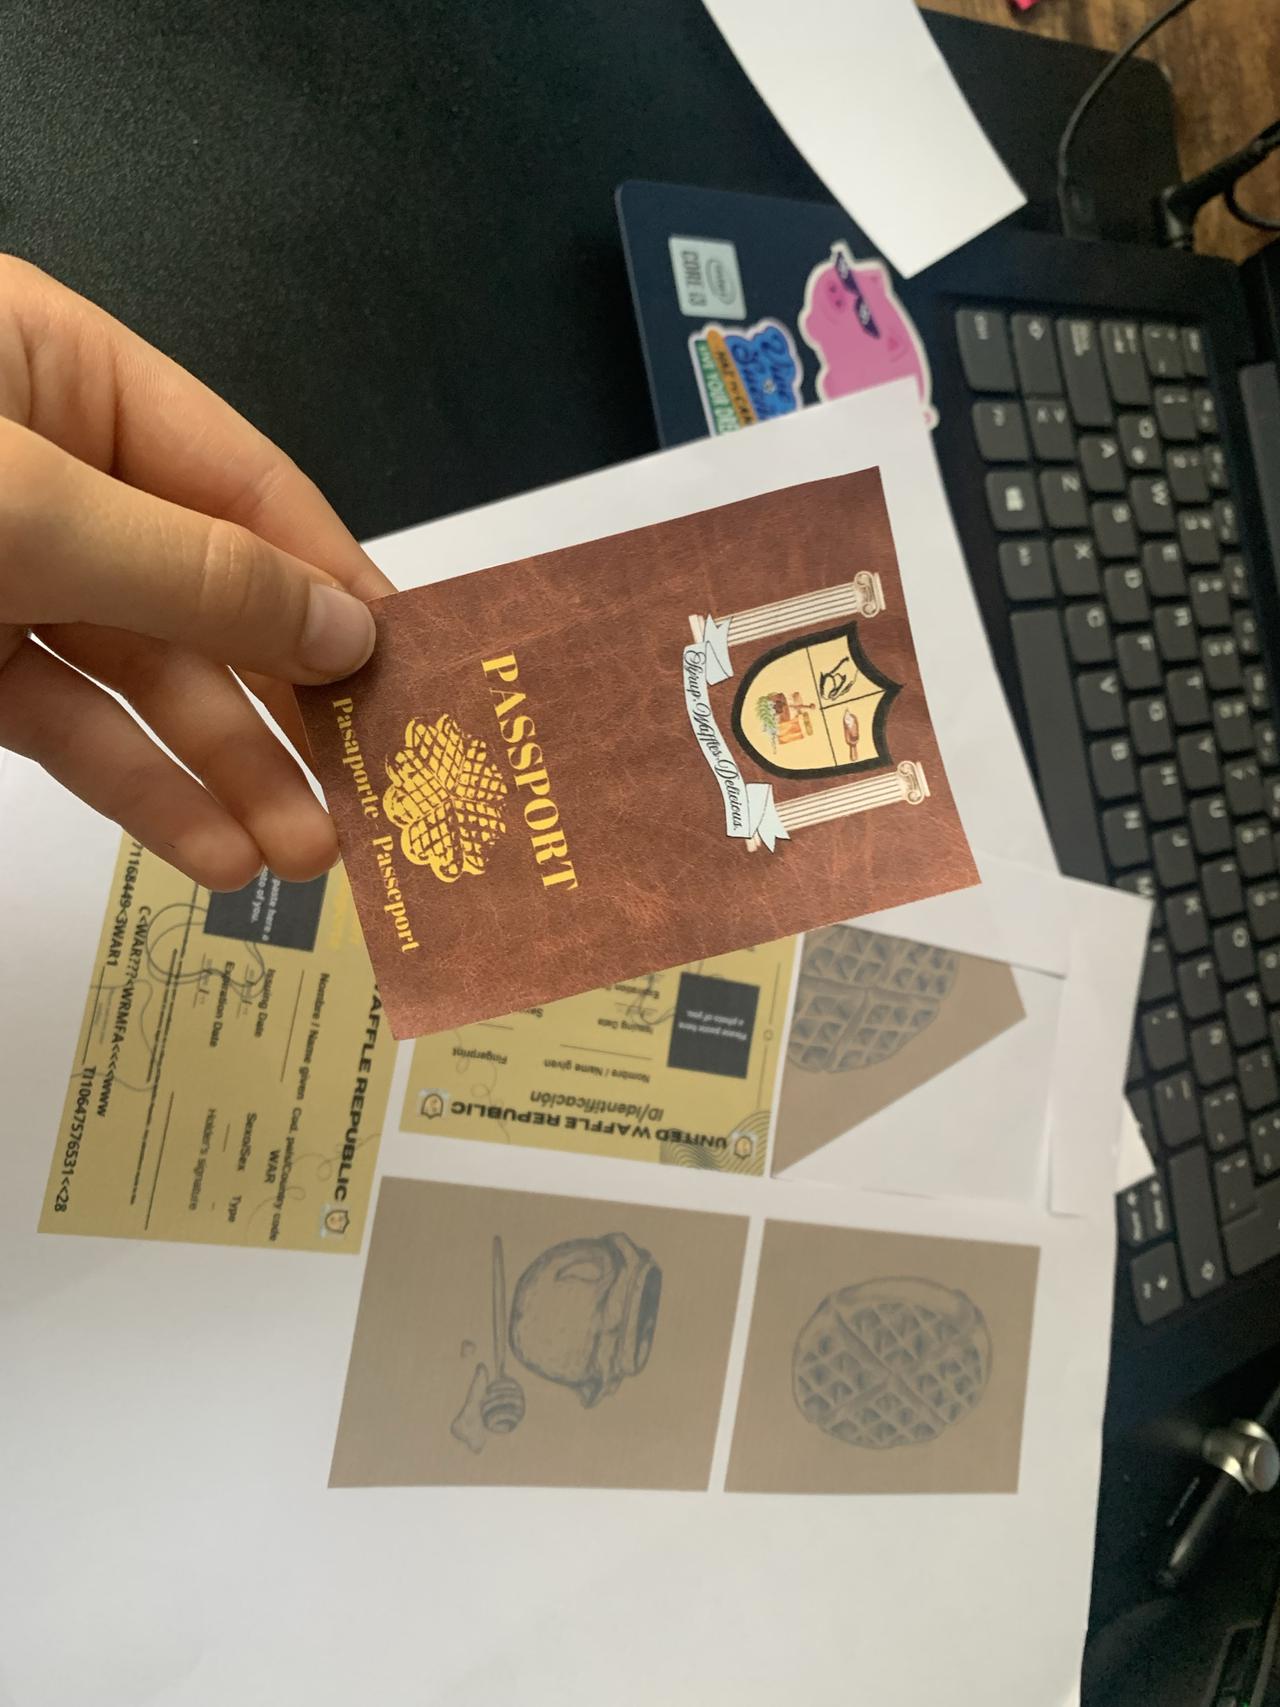
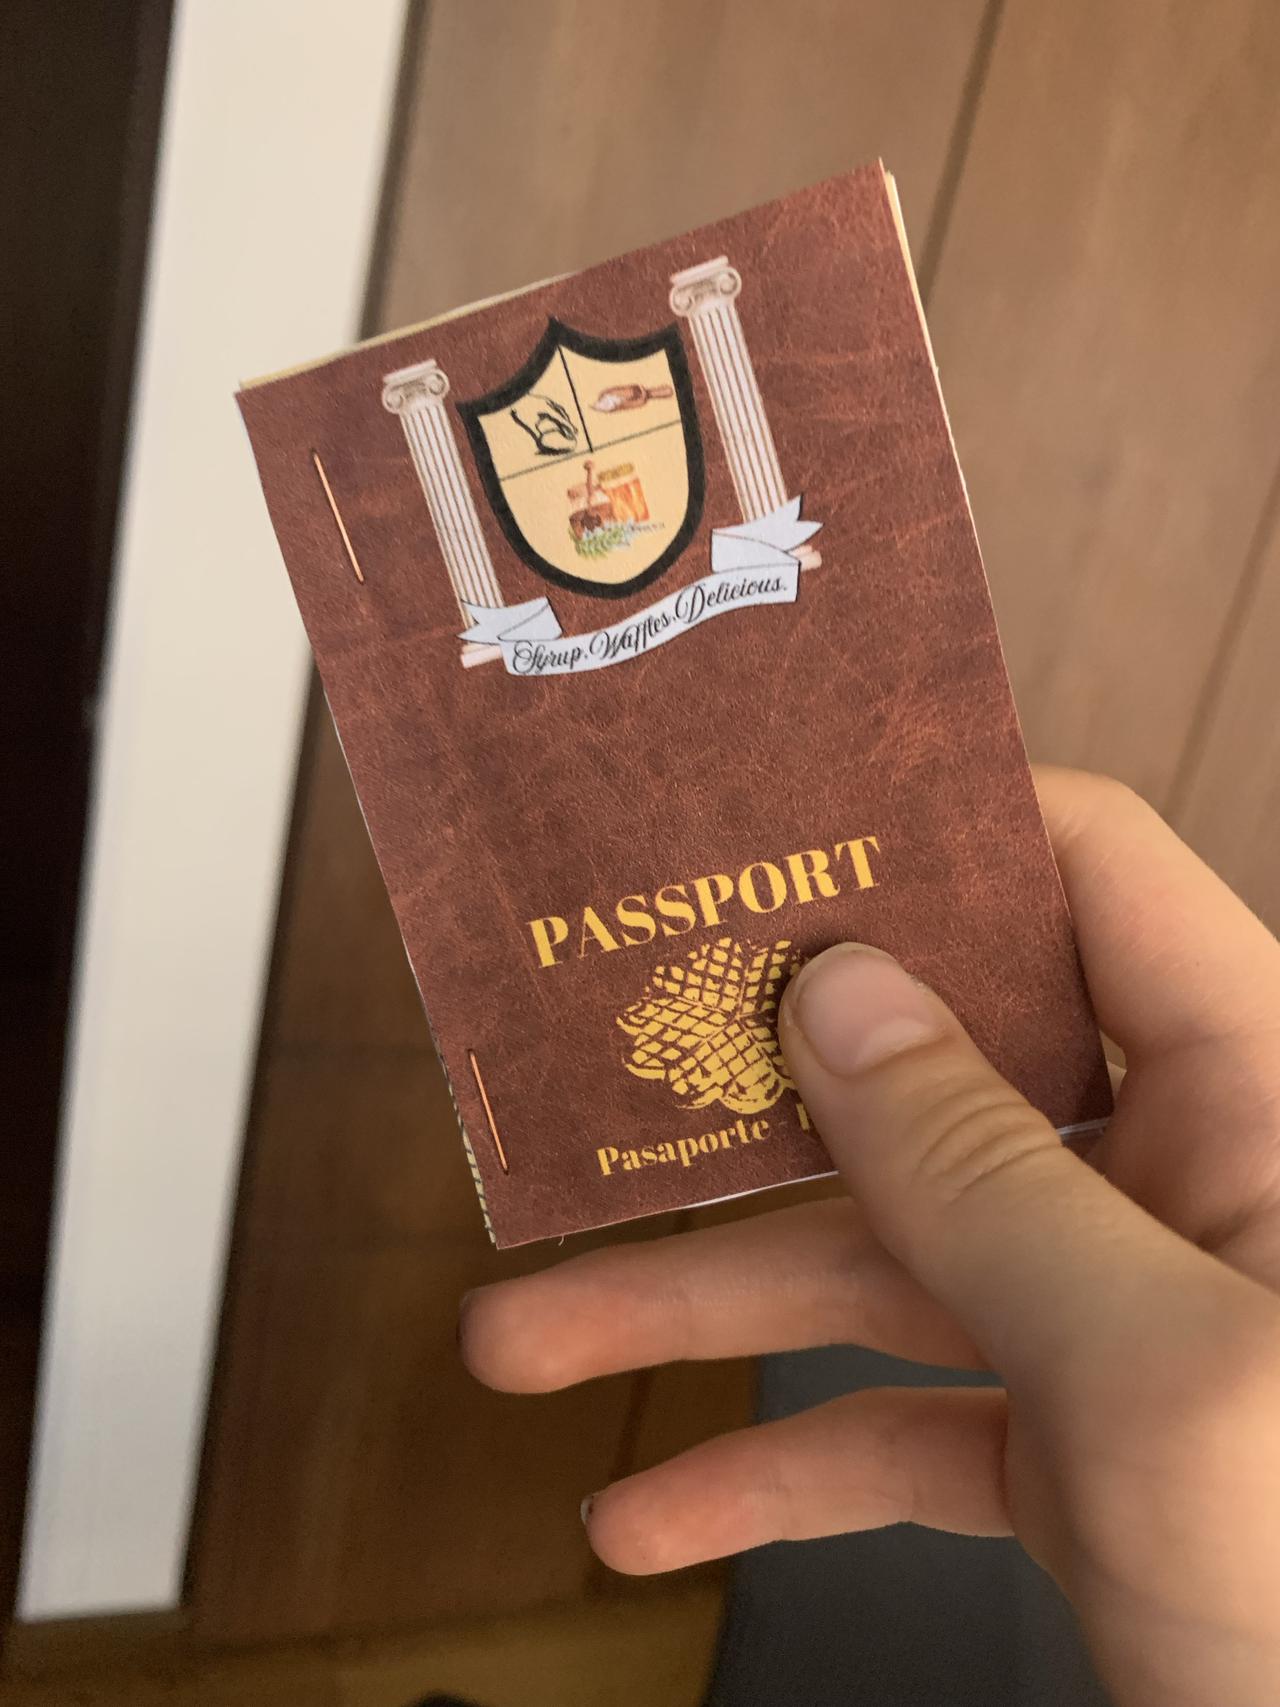
Front side looks like this:
Back side like this:
Repeat the process.
4. Fill the required info.
Add your details on the ID page and the passport card.
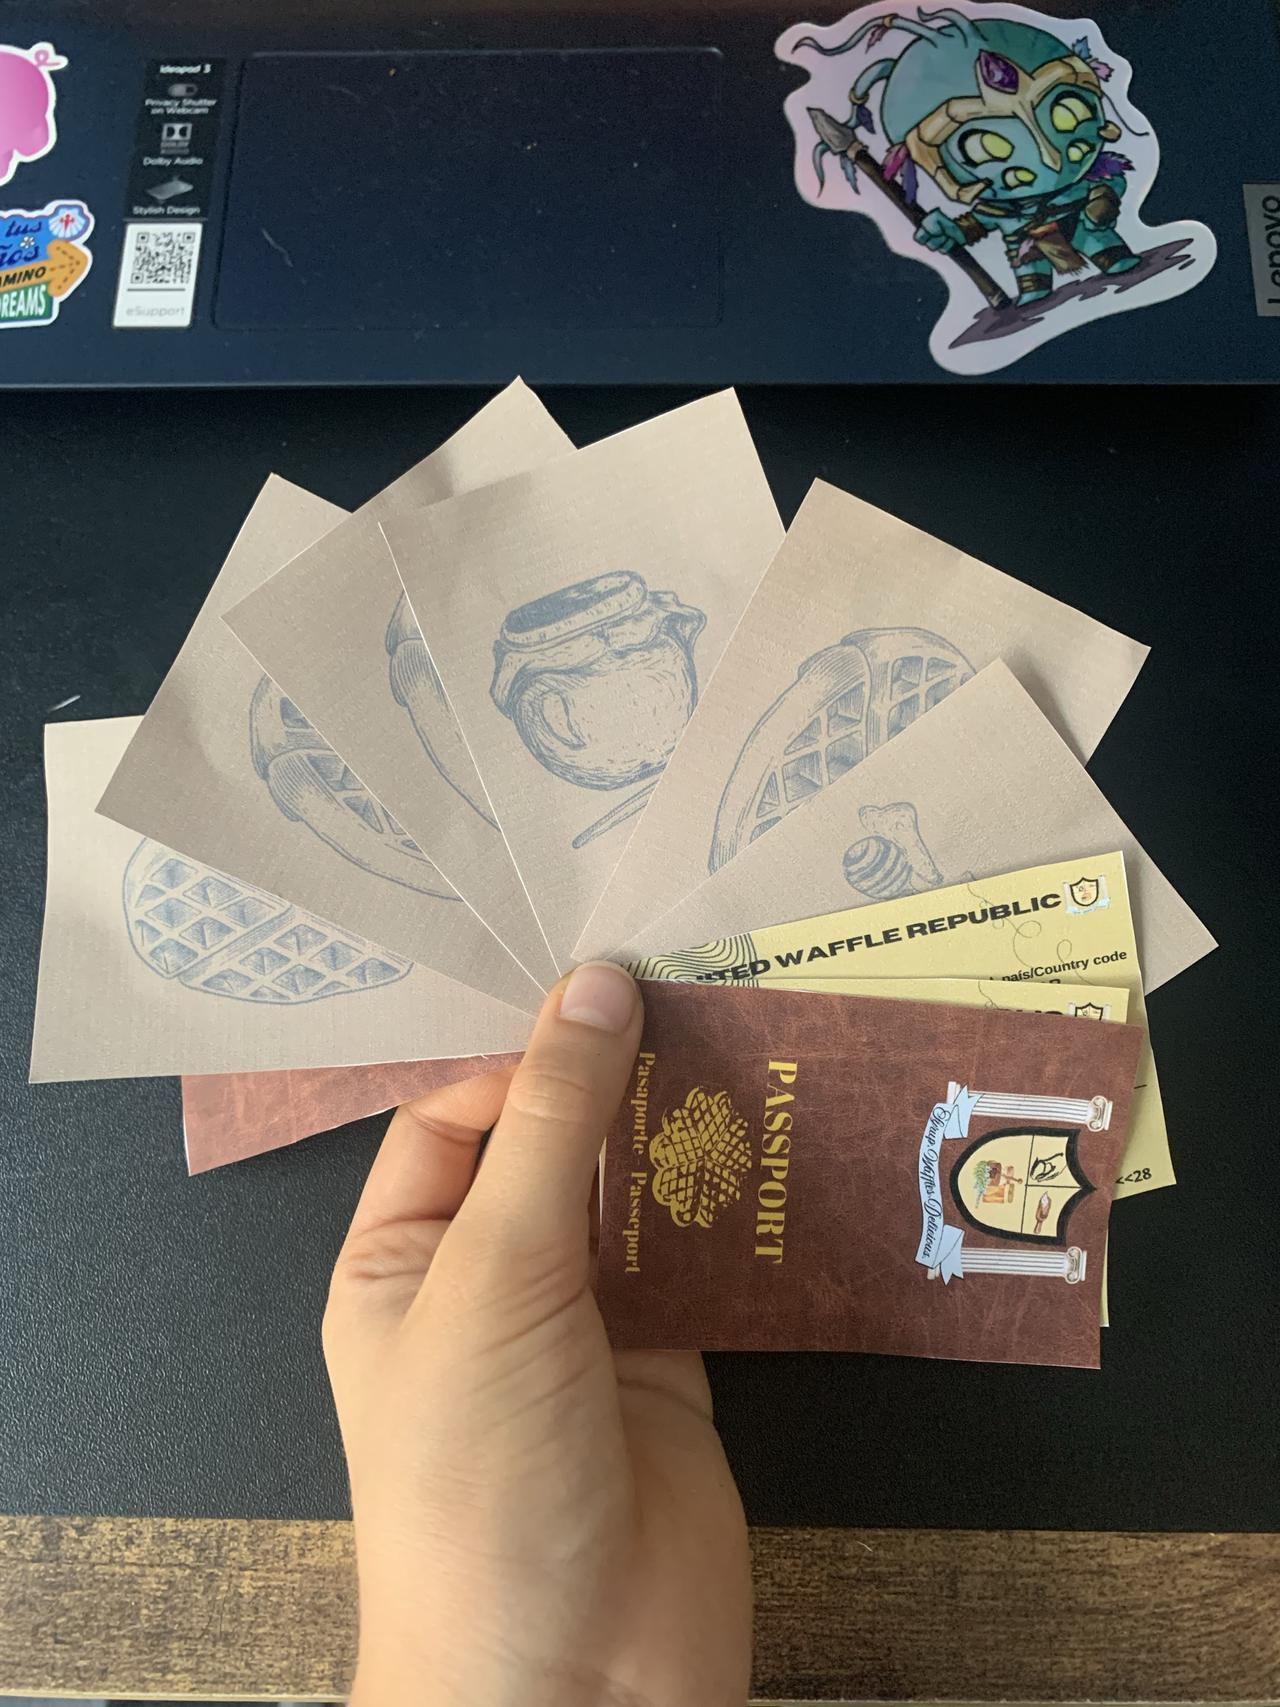
5. Staple the pages.
Staple the pages horizontally in the following order: Up-to-down order:
Voilà!
Now you have your passport! Welcome to the Waffle Republic!
P.S.: The images used in this post are from a previous version of the passport. If you download the passport now, it might be larger and include more pages.